You invested in quality LED downlights, but they are failing too soon. This is frustrating and costly. Simple maintenance and proper installation1 can dramatically extend their life.
To maintain LED downlights for maximum lifespan, ensure proper installation with adequate ventilation for heat dissipation, use high-quality drivers, protect the system from voltage fluctuations, and perform occasional cleaning. These steps prevent the primary causes of premature failure and help you achieve the rated lifespan.
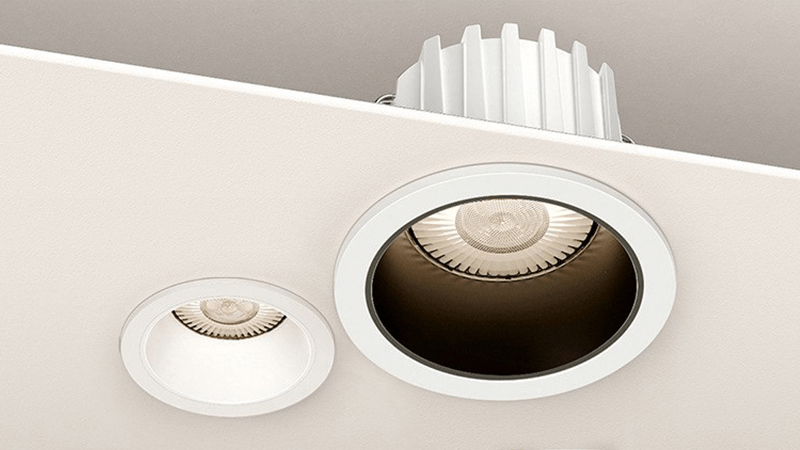
Getting the longest life from your lighting is not just about what you do after it's installed. The real secret is understanding what makes a downlight last in the first place. You need to know what factors control its longevity from the moment it's manufactured. Let’s break down the critical parts you need to know.
What is the lifespan of an LED downlight?
Manufacturers claim huge lifespans like 50,000 hours, but your experience says otherwise. This makes it hard to trust suppliers. The real lifespan depends on the chip, driver, and heat management.
An LED downlight's lifespan is not a single number. It is determined by the quality of the LED chip2, the durability of the driver, and how well it manages heat. A well-made downlight can last 30,000-50,000 hours, but only if these key parts are good.
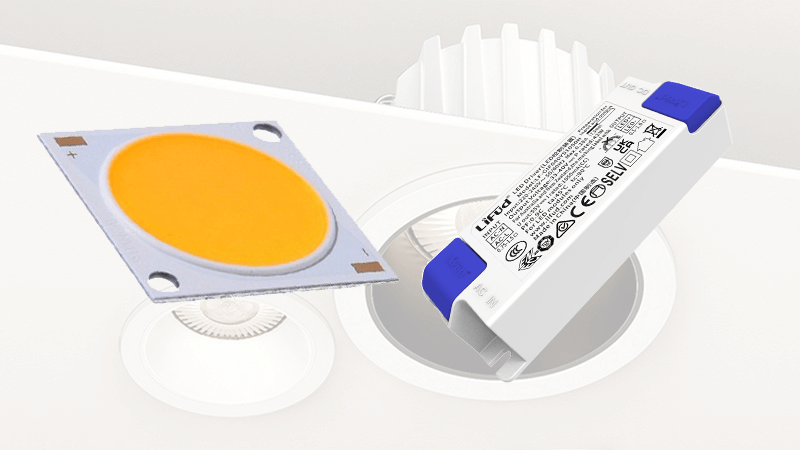
After many years in the LED business, I've seen countless "long-lasting" products fail early. The reason is almost never just one thing. A downlight's lifespan is a chain, and it's only as strong as its weakest link. In my experience, there are two main weak links: the decay of the light source itself and the failure of the power supply. Understanding these helps you choose products that actually last.
The Decay of Light (Chip & Materials)
Even with perfect heat and power conditions, the LED chip and its phosphor coating will naturally get dimmer over time. This is called light decay3. The speed of this decay depends entirely on the quality of the materials used. For example, a common bracket chip is much less robust than a COB chip. The same goes for the phosphor powder that creates the white light. Cheaper powders degrade much faster, causing the light to dim and change color. This is why two lights that look identical at first can perform so differently over a year or two.
| Component | Lower Quality | Higher Quality | Impact on Lifespan |
|---|---|---|---|
| LED Chip | Bracket Chip (e.g., 2835) | COB or Imitation Lumen | Faster light decay |
| Phosphor | Halophosphate Powder | Rare-earth Tri-phosphor | Faster color shift4 & dimming |
The Heart of the Matter (The Driver)
The driver is the heart of the LED downlight. It converts the high-voltage AC power from the wall into the low-voltage DC power the LED chip needs. This component is often the first to fail. In my factory, we've analyzed thousands of returned lights. I can tell you that 7 out of 10 failed LEDs are because of a bad driver. The weakest part inside the driver is the electrolytic capacitor5. High temperatures cause it to dry out, bulge, and fail. This leads to flickering or the light dying completely. Manufacturers also cut costs by using cheap transistors and inductors that can't handle power surges6, causing them to burn out easily. A cheap driver is a guarantee of a short life for the whole fixture.
How to make your LED lights last longer?
You want to offer clients lighting that truly lasts. Early failures hurt your reputation and your profit. You can extend LED life by focusing on good heat dissipation7 and stable power.
To make LED lights last longer, you must ensure proper heat dissipation. Choose downlights with good heatsinks8 and install them with enough space for air to flow. Using high-quality drivers9 and protecting them from moisture and heat is just as important.
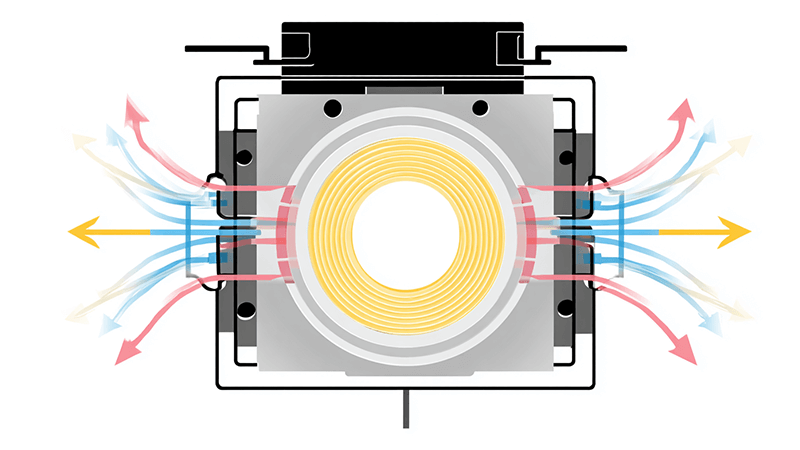
You can choose the best downlight in the world, but if you install it incorrectly, it will fail. I've seen this happen too many times. A great product in the wrong environment is a waste of money. The lifespan promised on the box depends on you giving the light the right conditions to operate. Let's talk about the practical steps you can take during installation and maintenance to ensure every downlight you install has the chance to live a long, bright life.
Beat the Heat
Heat is the number one killer of LED downlights10. While LEDs are called "cold light sources," the chip itself gets very hot. Only about 20-30% of the electricity becomes light; the rest turns into heat. If this heat cannot escape, it gets trapped and cooks the components from the inside out. This build-up of heat directly causes the LED chip to dim faster, degrades the phosphor powder, and, most importantly, destroys the driver. A well-designed downlight has a heavy heatsink to pull heat away from the chip. But that heatsink needs air. If a downlight is installed with insulation packed tightly around it, there is nowhere for the heat to go. It's like wrapping the light in a thick blanket.
Handle with Care
The installation process11 itself can be a hidden killer. I often see installers who are in a hurry. They might push the downlight forcefully into the ceiling hole, which can damage the delicate internal wiring or the LED chip itself. The driver is also a sensitive component. It should never be left in a damp or poorly ventilated corner of the ceiling void. Moisture can corrode the electronics, and just like the downlight itself, the driver needs airflow to stay cool. The driver module should be placed securely where it won't be exposed to moisture and has some breathing room. A little care during installation goes a long way and prevents a lot of future problems.
Do LED lights need maintenance?
You install LED lights and expect them to last for years without any issues. This is mostly true. But ignoring them completely can still shorten their life and reduce their performance.
Yes, LED lights benefit from simple maintenance. The most important task is regular cleaning to remove dust that traps heat. You should also periodically check that the lights are not flickering, as this can signal a failing driver that needs replacement.
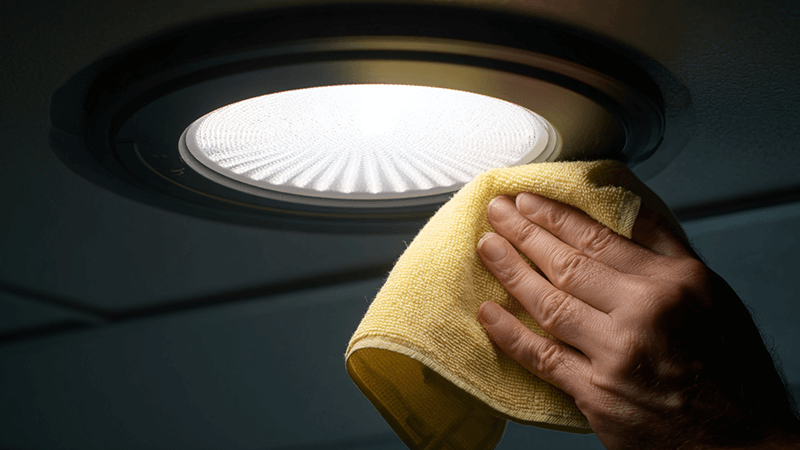
LEDs are popular because they are low-maintenance, not no-maintenance. Thinking you can just "fit and forget" is a common mistake that I see costing businesses money in the long run. As a purchasing manager, you want to get the best value from your investment. Simple, planned maintenance ensures that you get every hour of life you paid for. It's about protecting your assets.
The Dust Problem
Over time, a layer of dust builds up on the fixture, especially on the heatsink and the lens. This might not seem like a big deal, but it is. Dust acts like an insulator. On the heatsink, it traps heat and stops the downlight from cooling itself effectively. As we've discussed, heat is the main enemy of LEDs. On the lens, dust blocks light and reduces the fixture's brightness. A simple cleaning every 6 to 12 months with a soft, dry cloth can make a huge difference. This simple action keeps the light running cooler and shining brighter, extending its lifespan and maintaining its quality of light.
The Visual Check-up
You don't need special tools to do a health check on your lighting. Just use your eyes. Periodically walk through the space and look for any lights that are flickering, dimming unevenly, or have changed color. These are all early warning signs that the driver might be failing or that the LED chip is degrading prematurely. Catching these problems early is key. If one light in a series is failing, it could be a sign of a localized power issue that might damage other lights if it's not addressed. Replacing a single failing driver is much cheaper and easier than replacing a whole batch of lights later on. Think of it as preventative care12 for your lighting system.
What shortens the life of a LED bulb?
You buy bulbs with a 15,000-hour rating but they burn out in a year. You feel cheated. The problem is often not the bulb, but the conditions it is forced to endure.
The biggest factors that shorten LED life are excessive heat from poor ventilation, unstable power from low-quality drivers, power surges, and frequent on/off switching. Putting an LED in a sealed fixture or on a bad dimmer also causes early failure.
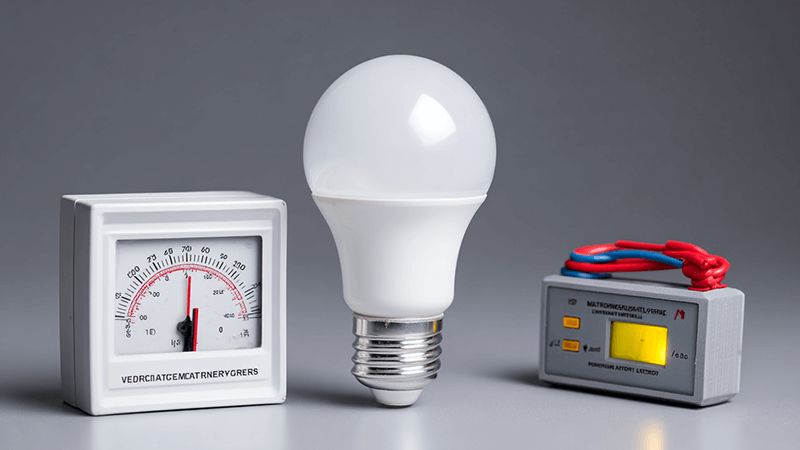
I've spent my career building reliable lighting, so it's frustrating to see good products fail because of simple, avoidable issues. The rated lifespan13 on the box is based on lab testing under perfect conditions. The real world is not a lab. For you, as a purchasing professional, knowing what kills LEDs in the real world is powerful knowledge. It helps you advise your clients and troubleshoot problems effectively, making you a more valuable partner.
The Torture of Heat
LEDs are electronic devices, and electronics hate heat. I cannot stress this enough. An LED chip's light output and lifespan drop sharply as its operating temperature rises. When you put an LED bulb inside a fully enclosed fixture, like some outdoor lights or small recessed cans, you are trapping all the heat it produces. The bulb's own small heatsink is overwhelmed. The internal temperature skyrockets, and the sensitive electronics in the driver and on the chip start to break down very quickly. It's a slow, chronic suicide for the bulb. Always check if a fixture provides enough ventilation for the LED bulb you are specifying.
The Agony of Bad Power
LEDs need clean, stable, low-voltage DC power. The electricity in our walls is high-voltage AC. The driver inside the bulb does this conversion. This is where the battle for lifespan is won or lost. Cheap drivers provide "dirty" power with lots of ripples, which stresses the LED chip. More importantly, these cheap drivers have no protection against voltage spikes and surges from the grid. Think of a nearby lightning strike or a large appliance turning on. These events send a shockwave through the electrical system. A good driver can handle it, but a cheap one gets fried instantly. This is why a whole room of bulbs can fail at the same time after a power event. Investing in bulbs with quality drivers is your best insurance against this problem.
Conclusion
To maximize LED lifespan, you must control heat, ensure quality power with good drivers, and install correctly. These simple steps will protect your investment and ensure reliable, long-lasting light.
Understanding the impact of installation can help you avoid costly mistakes and ensure your lights last longer. ↩
Explore this link to learn about the different types of LED chips and their impact on lighting longevity. ↩
Understanding light decay will help you choose better products and maintain their performance over time. ↩
This resource explains the factors behind color shift, helping you choose better quality LED products. ↩
Learn about the critical function of electrolytic capacitors in LED drivers and their impact on lifespan. ↩
Understanding power surges can help you protect your LED investments from unexpected failures. ↩
Discover why managing heat is crucial for LED performance and longevity, and how to achieve it effectively. ↩
Learn about the role of heatsinks in managing heat and enhancing the lifespan of your LED lights. ↩
Learn how investing in quality drivers can prevent early failures and enhance the performance of your LED lighting. ↩
Explore this resource to learn essential maintenance tips that can significantly extend the lifespan of your LED downlights. ↩
Explore this resource for tips on proper installation to ensure your LED lights perform optimally. ↩
Learn how preventative care can save you money and extend the life of your lighting investments. ↩
Understanding rated lifespan can help you set realistic expectations for your LED lighting investments. ↩

