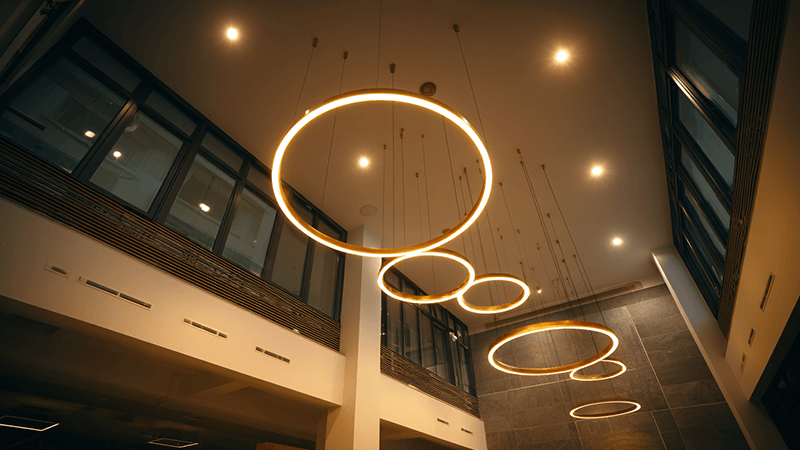
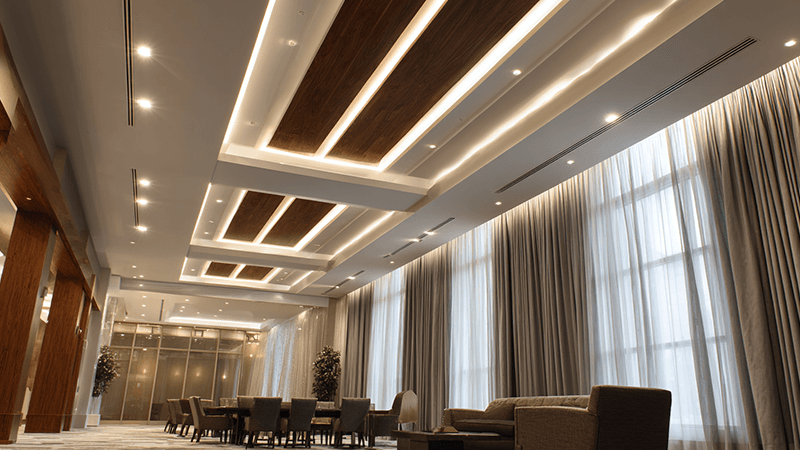
Having trouble lighting a tall space? A wrong choice can lead to dim corners or blinding glare, wasting time and money. Here’s how to choose the right downlights for a perfectly lit environment.
To select the best LED downlights for high ceilings, you must prioritize three key specifications: high lumen output (over 2000 lumens), a narrow beam angle (15°-24°) to focus light, and excellent anti-glare control (UGR<19). Always check the luminous efficacy (lm/W) for better energy efficiency.

As someone who started in an LED factory and built a manufacturing business, I’ve seen many projects struggle with high ceilings. People often focus on one thing, like wattage, and ignore the factors that truly matter. This is a common and costly mistake, but you can easily avoid it. Let's break down the key questions I get asked all the time to make sure your next high-ceiling project is a success. By the end of this guide, you'll feel confident choosing the right fixtures.
What is the best lighting for high ceilings?
Faced with endless options, you might wonder what "best" truly means for a high ceiling. It's about more than just brightness. A wrong choice leads to poor light quality and high energy bills, frustrating everyone. The best lighting perfectly balances brightness, comfort, and efficiency.
The best lighting for high ceilings1 delivers high lumen output2 efficiently (high lm/W), controls glare effectively (UGR<193), and uses a precise beam angle to deliver light where it's needed. It is a combination of performance metrics, not just a single feature like high wattage.

In my experience, the "best" light is the one that solves the unique challenges of a tall space without creating new problems. You need to think about performance, quality, and long-term cost together. Many people fall into the trap of thinking a high-wattage downlight4, like 50W, is automatically the brightest and best. This is a common misconception. Brightness is measured in lumens (lm), not watts (W). A more advanced, energy-efficient 30W LED with a high luminous efficacy5 of 130 lm/W will produce more light (3900 lm) than an older 50W LED with a low efficacy of 70 lm/W (3500 lm). Always look at the luminous efficacy (lm/W) on the spec sheet; a value over 100 lm/W is a good starting point for quality fixtures.
Another critical factor is visual comfort6. A very bright light with poor design will create intense glare, making the space uncomfortable. Imagine walking into a beautiful hotel lobby and being blinded by the lights above. For high ceilings, where people might naturally look up, anti-glare design is non-negotiable. Look for fixtures with deep-recessed light sources, honeycomb louvers, or specialized lenses. A Unified Glare Rating (UGR) of less than 19 is the standard for comfortable office and educational spaces, and it's a great benchmark for any commercial project. The goal should always be to "see the light, not the lamp." This ensures the space is illuminated beautifully without causing any visual discomfort to its occupants.
How many lumens for tall ceilings?
You know you need bright lights for a tall ceiling, but how bright is enough? Underestimate the need, and the space feels dark and unusable. This can lead to costly rework and unhappy clients. But you can calculate the right lumen output7 and get it right the first time.
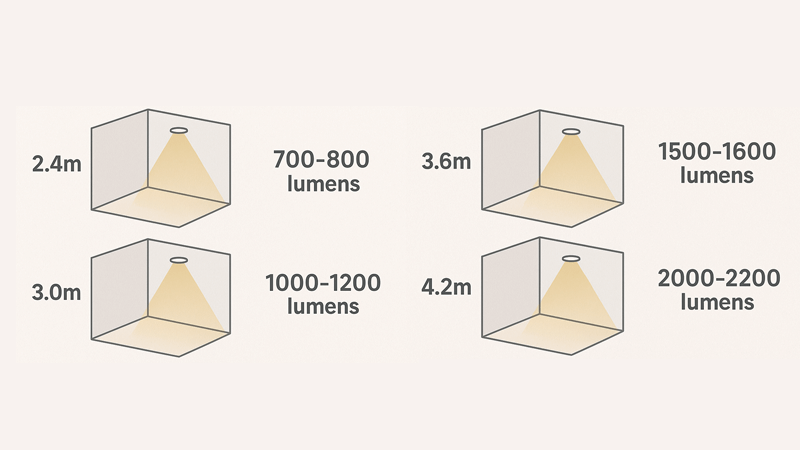
For a 4-6 meter (13-20 ft) ceiling, aim for 1000-1500 lumens per downlight. For a 6-8 meter (20-26 ft) ceiling, you need to increase this significantly to 2000 lumens or more per fixture. It is always safer to choose a higher lumen output for high-ceiling applications8.

The height of the ceiling is the most important factor here because light intensity9 diminishes over distance. A standard downlight with 500 lumens might be fine for a bedroom, but in a hotel lobby with a 6-meter ceiling, that light will be barely noticeable by the time it reaches the floor. That's why simply picking a "bright" downlight isn't enough; you need one with a lumen output specifically rated for tall spaces. My rule of thumb, based on years of helping clients, is to have a clear minimum for different heights. If you are lighting a space between 4 and 6 meters high, don't even consider a downlight with less than 1000 lumens. For truly high ceilings—I'm talking about atriums, ballrooms, or airport terminals over 6 meters—you absolutely must look for fixtures that provide at least 2000 lumens.
Here’s a simple table to help you remember these recommendations. Think of it as your cheat sheet for your next project.
| Ceiling Height (meters) | Ceiling Height (feet) | Recommended Lumens per Downlight | Common Application |
|---|---|---|---|
| 4 - 6 meters | ~13 - 20 feet | 1000 - 1500 lm | Offices, Retail Stores, Restaurants |
| 6 - 8 meters | ~20 - 26 feet | 2000+ lm | Lobbies, Atriums, Theaters |
| 8+ meters | ~26+ feet | 3000+ lm (or specialized) | Airports, Convention Centers |
When in doubt, it is always better to have more lumens than you need. Why? Because a high-quality LED driver often allows for dimming. This gives you the flexibility to adjust the light level perfectly. If you choose a fixture that isn't bright enough, your only solution is to install more lights, which increases installation costs and complexity. Starting with a higher lumen output gives you control and ensures the space will be adequately illuminated.
How do you light a room with a 20-foot ceiling?
Lighting a room with a 20-foot (about 6-meter) ceiling poses a real challenge. Use the wrong strategy, and you end up with a brightly lit ceiling but a dark floor. This creates a cave-like, uninviting atmosphere, defeating the purpose of the design. But you can use a professional strategy to make the space feel bright and functional.
To effectively light a 20-foot ceiling, use a layered lighting approach10. Combine narrow beam angle (15°-24°) downlights for focused task lighting11 with wider beam angle (36°-45°) fixtures for general ambient light. This ensures light reaches the floor and walls are washed evenly.

Lighting a 20-foot ceiling is all about strategy. You can't just place downlights randomly and hope for the best. The key is to think in layers and use the right tool for each job. The "tool" in this case is the beam angle of your downlight. The beam angle tells you how focused or spread out the light will be. For such a tall space, your main enemy is light diffusion. A wide beam angle will spread light out too much before it can reach the floor, resulting in a dim functional area. This is where narrow beam angle12s become your best friend. A narrow beam angle13, like 15° or 24°, acts like a spotlight. It concentrates the light into a powerful, focused beam that can easily cut through the 20-foot distance and create bright, usable pools of light on the floor or on task surfaces like reception desks and tables. This is what we call accent or task lighting.
However, using only narrow beams can create a dramatic, high-contrast look with dark spots14 in between. This might work for a theater but not for a welcoming hotel lobby or an open-plan office. To solve this, you need a second layer of light for general ambient illumination. This is where you can use downlights with slightly wider beam angles, such as 36° or 45°. These fixtures will fill in the gaps, wash the walls with light, and reduce harsh shadows, making the space feel more open and balanced. The combination of narrow beams for punch and wider beams for fill is a professional technique that guarantees a successful outcome. Planning this layered approach from the start is far more effective than trying to fix a poorly lit space later.
How to lay out downlights?
You've chosen the perfect downlights, but where do you put them? A poor layout can create dark spots and uneven lighting, no matter how good your fixtures are. This can ruin the look and feel of a space. A systematic layout plan ensures complete and balanced coverage.
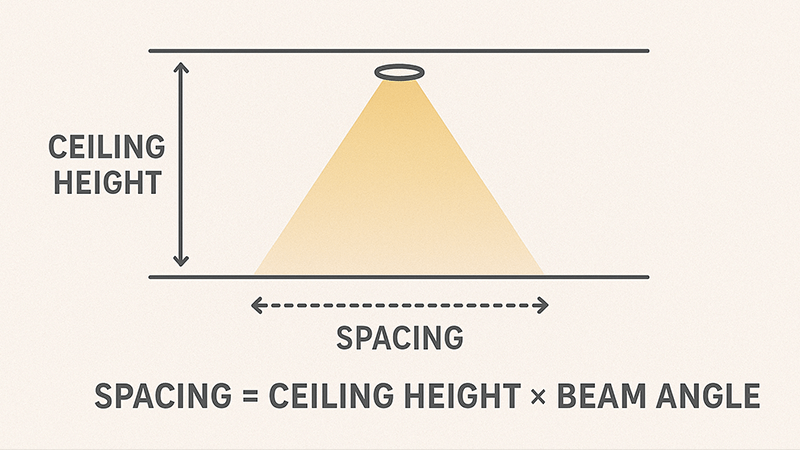
For a successful downlight layout15, use the beam angle to calculate spacing. A common rule is to space downlights at a distance equal to half the ceiling height. For a 6-meter ceiling, place downlights approximately 3 meters apart to ensure overlapping light beams for even coverage.

Properly laying out downlights is a technical exercise, not a guessing game. The goal is to create overlapping cones of light on the floor or work plane to eliminate shadows and dark spots. The spacing depends on two main things: the ceiling height and the beam angle of the fixtures you’ve selected. A simple formula I often share with clients is to use half the ceiling height as a starting point for the distance between each downlight. For example, in a room with a 6-meter ceiling, you would start by spacing your downlights approximately 3 meters apart. This is a general rule that works well for creating even ambient light16ing. However, you must adjust this based on the specific beam angle. A narrower beam angle will require tighter spacing, while a wider beam angle allows for greater spacing.
Let's get more specific. When laying out lights, you also need to consider the distance from the walls. A common mistake is placing the first row of downlights too far from the wall, which leaves the perimeter of the room in shadow. A good rule of thumb is to place the first row of downlights at a distance from the wall that is half of the spacing between the fixtures themselves. So, if your downlights are spaced 3 meters apart, place the first row 1.5 meters away from the wall. This technique, called wall grazing or washing, bounces light off the vertical surfaces and makes the entire room feel brighter and larger. For task areas, like over a kitchen island or a conference table, you’ll want to group your downlights more closely together, directly above the area where the most light is needed, using narrower beams for a focused punch.
Conclusion
Selecting the right LED downlights for high ceilings comes down to understanding more than just wattage. Focus on high lumens, tight beam angles, and anti-glare design to ensure a successful project.
Finding the best lighting for high ceilings ensures optimal brightness and comfort. ↩
Understanding high lumen output is crucial for achieving optimal brightness in tall spaces. ↩
A UGR<19 rating ensures comfortable lighting, reducing glare in commercial spaces. ↩
Exploring alternatives to high-wattage downlights can lead to better energy efficiency. ↩
Luminous efficacy measures energy efficiency, helping you choose cost-effective lighting solutions. ↩
Visual comfort is key to creating inviting and functional spaces, especially in tall areas. ↩
Calculating lumen output is essential for ensuring adequate illumination in tall spaces. ↩
Best practices for high-ceiling applications ensure effective and efficient lighting solutions. ↩
Understanding light intensity helps in achieving the desired brightness in tall spaces. ↩
A layered lighting approach combines different light types for balanced illumination. ↩
Task lighting is crucial for focused activities, especially in high-ceiling areas. ↩
Understanding beam angle helps in selecting the right fixtures for effective light distribution. ↩
A narrow beam angle focuses light effectively, making it essential for high ceilings. ↩
Eliminating dark spots is crucial for creating a well-lit and inviting environment. ↩
An effective downlight layout maximizes light coverage and minimizes shadows. ↩
Ambient light creates a welcoming atmosphere, essential for high-ceiling spaces. ↩

