Looking for LED downlights that provide solid value for bulk buying? The wrong choice can lead to costly replacements, wrecking your project's budget and your company's reputation.
The best value LED downlights for large-scale purchases are those with a low Total Cost of Ownership (TCO). This means looking beyond the initial price to consider energy efficiency, maintenance costs, and a strong warranty. A slightly more expensive, reliable product often saves you much more money long-term.
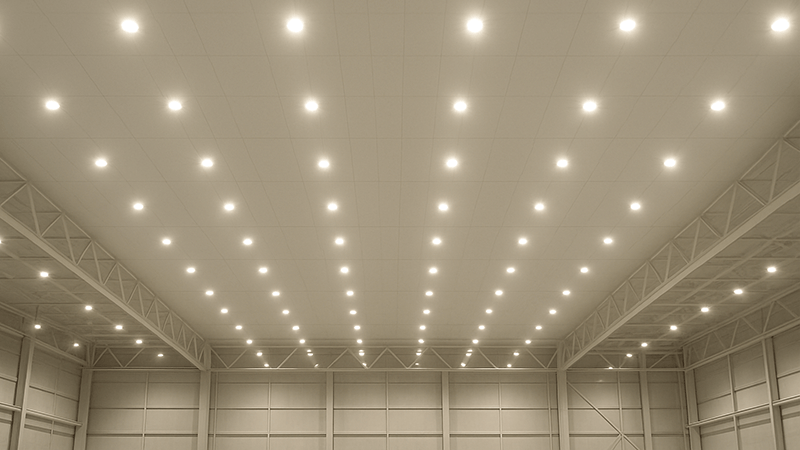
I've seen many purchasing managers get stuck on the per-unit price. It's an easy trap to fall into. But after over a decade in this industry, I've learned that the real cost reveals itself over years, not on the initial invoice. Let's break down what truly matters when you're buying in bulk. Understanding these details will help you make a much smarter investment.
Do LED downlights use a lot of electricity?
Worried about high electricity bills after installing hundreds of downlights? You see the potential for massive energy consumption1. This can make or break your project's operational budget.
No, modern LED downlights use very little electricity. They are up to 80% more efficient than old halogen or incandescent bulbs. This means significant long-term savings on energy bills, making them a very smart choice for large-scale projects where electricity costs add up quickly.
The Power of Efficiency
When you're buying hundreds or thousands of downlights, electricity usage is not a small detail; it's a major factor in the Total Cost of Ownership2. I always tell my clients to look at the "lumens per watt3" (lm/W) rating. This number tells you how much light you get for every watt of power consumed. A higher number means better efficiency.
I remember a project manager in the UAE who was hesitant about the upfront cost of our LEDs for a new office building. We ran the numbers with him. We compared a cheap, less efficient LED with our higher-quality model for a 500-unit installation. The long-term savings were what convinced him. I put it in a simple table for him, something like this:
| Feature | Cheap LED Downlight | Quality LED Downlight |
|---|---|---|
| Power Usage | 15 Watts | 10 Watts |
| Lumens | 900 lm | 900 lm |
| Efficiency (lm/W) | 60 lm/W | 90 lm/W |
| Energy Cost per Year* | $3,285 | $2,190 |
| 5-Year Energy Cost | $16,425 | $10,950 |
| 5-Year Savings | - | $5,475 |
*Assuming 12 hours/day operation at $0.15/kWh.
When he saw the potential to save over $5,000 in just five years, the decision was easy. The slightly higher initial investment would pay for itself in less than two years just from energy savings4. This is what you should focus on. When you can show these strategic savings to your management, you become a more valuable part of your team. You are not just buying a light; you are making a smart financial decision for the company's future.
What is the average price for a downlight install?
Budgeting for a huge lighting project is tough. You're trying to figure out the installation cost5 per unit. This number can vary wildly and wreck your budget if you guess wrong.
The average installation price for a single downlight can range from $50 to over $150. This depends on labor rates, wiring complexity, and location. For large projects, you can often negotiate a lower per-unit installation cost, but it remains a significant part of your overall budget.
Beyond the Light Fixture
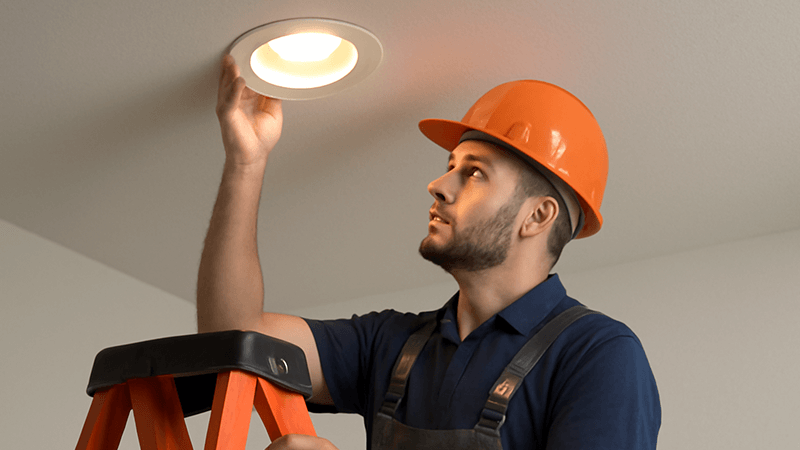
As a purchasing manager, you know that the price on my invoice is just one piece of the puzzle. The installation cost is a critical part of the TCO that you must account for. It is not just about paying an electrician; several factors can change the price dramatically, especially when you are dealing with a large volume. A simple mistake in planning here can cost you thousands.
To help you budget more accurately, think about these key variables. I've broken them down into a table to show how they affect your project.
| Factor | Impact on Cost | What to Consider for Bulk Purchases |
|---|---|---|
| New Construction vs. Retrofit | New construction is cheaper. | In a new building, wiring is easy. In a retrofit, electricians must cut holes in existing ceilings and run new wires, which takes more time and labor. |
| Electrician's Labor Rate | High impact. | Rates vary a lot by region. For a large project, get at least three detailed quotes from qualified contractors. Ask them for a per-unit price based on volume. |
| Ceiling Accessibility | Can increase cost significantly. | High ceilings, concrete slabs, or tight crawl spaces make the job harder and longer. A site visit with your contractor is essential to avoid surprises. |
| Smart Controls / Dimmers | Adds cost upfront. | Integrating systems like 0-10V dimming or DALI requires specialized wiring and configuration. Make sure this is included in the electrician's quote. |
Over the years, I've worked with many clients who saved money by choosing products designed for easy installation. Lights with quick-connect terminals, adjustable spring clips, or an integrated driver can reduce labor time for each unit. When you multiply that time saving by 500 or 1,000 units, the total savings on labor can be huge. This is another area where a slightly more expensive, but better-designed, product can lower your Total Cost of Ownership.
Which is better, 12V or 240V LED downlights?
You're deciding between low-voltage (12V) and line-voltage (240V) systems. This technical choice seems small. But picking the wrong one can lead to higher costs and more complex maintenance.
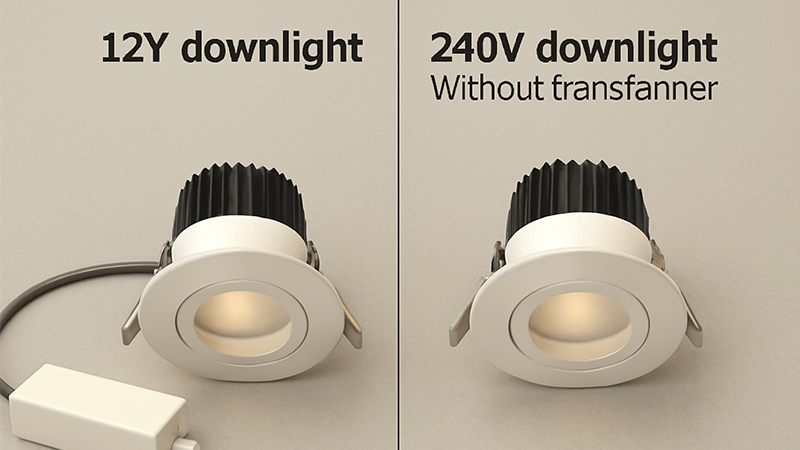
For most large-scale commercial projects, 240V (or line-voltage) LED downlights are better. They are simpler to install because they don't need a separate transformer for each light. This reduces installation time, material costs, and potential points of failure, which is crucial for big projects.
Choosing the Right Voltage System
This is a decision that has big implications for your TCO. Many people think 12V is safer or better, and it has its place, especially in wet areas like bathrooms. However, for large commercial installations—offices, warehouses, retail stores—the complexity of 12V systems can be a major problem.
Let me explain the difference from my perspective as a manufacturer. A 240V system is straightforward. The power from the wall goes directly to the downlight's integrated driver. It's a simple, reliable connection. With a 12V system, you need a transformer to step the voltage down from 240V to 12V. You can use one large transformer for a group of lights or individual transformers for each light. Both options add complexity and cost.
Here’s a breakdown to help you explain this choice to your team:
| Aspect | 240V (Line-Voltage) System | 12V (Low-Voltage) System |
|---|---|---|
| Installation | Simpler & Faster. Electrician wires directly to the mains. Fewer components to install. | More Complex. Requires a transformer, adding an extra component and wiring step for each light or group of lights. |
| Material Cost | Lower. No need to buy transformers. | Higher. You have the cost of the downlights plus the cost of the transformers. |
| Maintenance | Easier. If a light fails, it's usually the integrated driver. A simple fixture swap fixes the problem. | More Difficult. If a light fails, you have to troubleshoot. Is it the bulb, the driver, or the central transformer? This takes more time. |
| Efficiency | Very efficient. | Can have energy loss (about 10-20%) in the transformer, making the whole system less efficient. |
For a purchasing manager responsible for hundreds of units, the 240V system is almost always the more practical and cost-effective choice6. It reduces your upfront material and labor costs. More importantly, it simplifies long-term maintenance, which protects your budget for years to come.
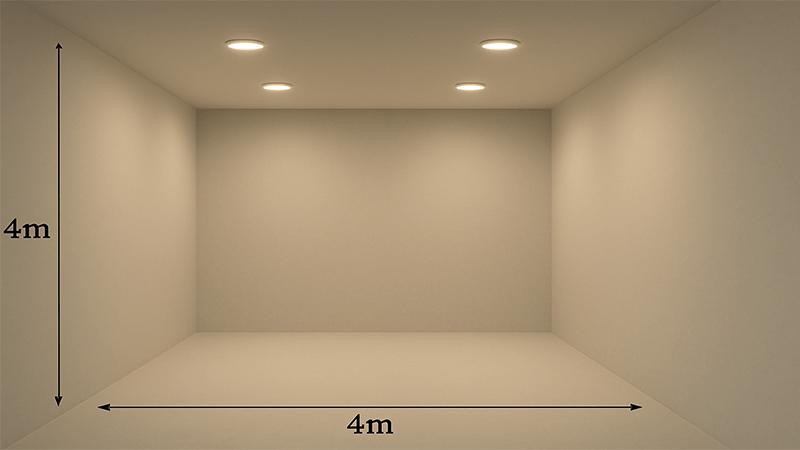
How many downlights are in a 4x4 room?
You're trying to plan the lighting layout7. You need to know how many lights to order. Guessing the wrong number means you either have dark spots or waste money on too many fixtures.
For a 4x4 meter room, you will typically need 4 to 6 downlights. This provides good, even illumination for general use. The exact number depends on the ceiling height, the brightness (lumens) of the downlights, and the room's purpose. More lights may be needed for task areas.
From Single Room to Large-Scale Plan
While a 4x4 room is a simple example, the principles apply to your large-scale projects. Getting the layout right is key to both performance and budget control. It’s not just about putting lights in a grid; it’s about creating the right environment efficiently. As a manufacturer, I provide photometric files8 (like IES files) for our products. These files are essential for professional lighting design9ers. They use software to create a perfect lighting plan that tells you exactly how many lights you need and where to put them.
If you don't have a lighting designer, you can use some basic rules. First, think about the room's purpose.
- General Ambient Lighting: Places like hallways or storage areas. Here, you can space lights further apart.
- Task Lighting: Areas like office desks, kitchens, or retail displays. Here, you need more focused light, so lights should be closer together.
Here is a simple guide to help you estimate:
| Room Type | Recommended Spacing | Example Calculation for a 10m x 20m Office |
|---|---|---|
| Hallways/Corridors | 2 - 2.5 meters apart | You would create rows spaced about 2m apart, with lights in each row also 2m apart. This ensures good general coverage. |
| Open-Plan Offices | 1.5 - 2 meters apart | You need brighter, more even light to prevent eye strain. A tighter grid is necessary. This would require more fixtures than a hallway of the same size. |
| Retail/Display Areas | 1 - 1.5 meters apart | Here, light is used to attract customers and highlight products. You need higher brightness and more fixtures focused on key areas. |
My advice for any bulk purchase is this: don't guess. Ask your supplier for a professional lighting simulation10. We do this for our partners all the time. You give us the floor plan, ceiling height, and what the space will be used for. We use software to generate a 3D model showing the light levels in every part of the room. This report proves that the proposed layout will work and gives you the exact quantity of lights to order. This eliminates guesswork, prevents over-ordering, and ensures the client gets a perfectly lit space.
Conclusion
The best value comes from focusing on Total Cost of Ownership—combining a fair price with efficiency, reliability, and strong warranty11 terms. This approach ensures long-term savings and project success.
Discover the savings potential of switching to LED technology for your projects. ↩
Understanding TCO helps you make informed decisions that save money in the long run. ↩
Understanding lm/W ratings can help you choose more efficient lighting solutions. ↩
Explore the long-term financial benefits of using energy-efficient lighting. ↩
Knowing these factors can help you budget more accurately for your lighting projects. ↩
Discover how LED downlights can save you money over their lifespan. ↩
Proper planning ensures optimal illumination and avoids costly mistakes. ↩
These files are essential for creating accurate lighting plans and layouts. ↩
Understanding lighting design principles can enhance the quality of your projects. ↩
A lighting simulation can provide precise recommendations for your project. ↩
A strong warranty can protect your investment and ensure product reliability. ↩

