Choosing the wrong downlight creates uneven lighting or harsh glare. This leads to unhappy clients and costly rework. Understanding beam angle is the key to selecting the perfect downlight.
Beam angle is crucial because it determines the spread of light from the fixture. A narrow beam creates a focused spotlight, ideal for accenting. A wide beam provides broad, general illumination. Choosing correctly ensures optimal visual comfort and achieves the desired lighting effect for any space.
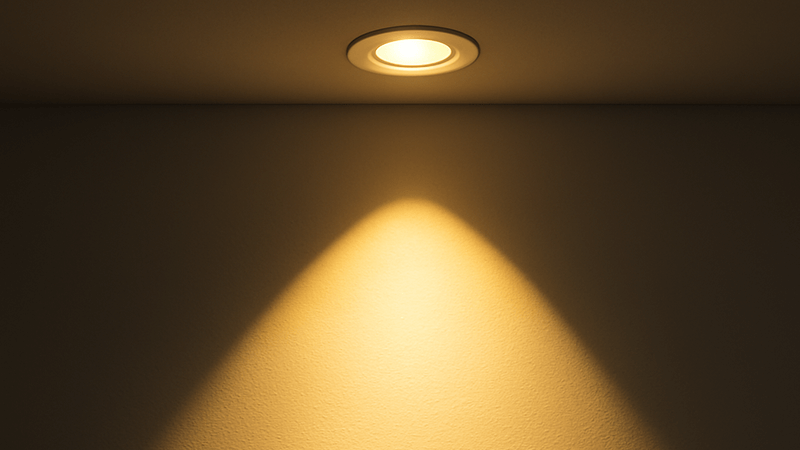
Now you know the basic importance of beam angle1. But how does this apply specifically to COB technology2, and how do you translate a number on a spec sheet into a real-world lighting plan? This is where my experience in manufacturing can help you make better purchasing decisions. Let's explore the details that separate a good lighting project3 from a great one.
What is the beam angle of a COB?
You see "beam angle" on spec sheets but are not sure how it applies to COB technology. This can lead to specifying the wrong product, affecting the final design.
The beam angle of a COB downlight is the angle where light intensity4 drops to 50% of the center's brightness. This cone of light isn't from the COB chip alone; it is shaped and controlled by the secondary optic, like a reflector or lens.
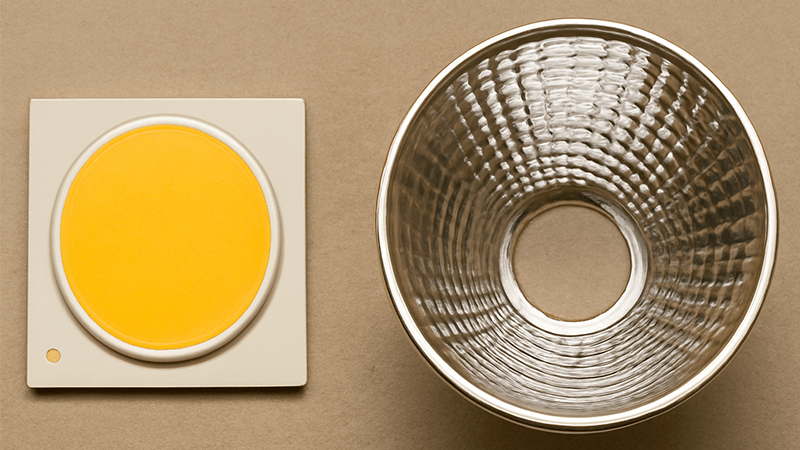
In my years of manufacturing, I've seen how the magic of a COB downlight happens not just at the chip level, but in its interaction with the optics. A COB itself is a dense cluster of LED dies on a single substrate. When powered on, it produces a very wide, almost 180-degree, flood of raw light. This raw light is not practical or pleasant for most applications. The real work is done by the secondary optic5, which is usually a reflector or a Total Internal Reflection (TIR) lens placed over the COB.
How COB and Optics Work Together
The design and finish of this secondary optic are what truly define the beam angle and the quality of the light. It captures the raw light and focuses it into a controlled beam. For example, a highly polished, mirror-like reflector will create a very sharp, defined beam with a hard edge. This is great for creating dramatic accent lighting. In contrast, a faceted or textured reflector will soften the edges of the beam, creating a smoother transition from light to dark. This is often preferred for general illumination to avoid a "spotty" look on the floor.
Here's a simple breakdown of how reflector finishes affect the beam:
| Reflector Finish | Beam Edge | Best For |
|---|---|---|
| Specular (Polished) | Hard, clearly defined | High-contrast accent lighting, long throw distances |
| Semi-Specular | Moderately soft | General and task lighting, good balance |
| Matte (White/Black) | Very soft, diffuse | Wall washing, low-glare general lighting |
I remember a project for a hotel lobby where the designer wanted a specific "scallop" effect on a feature wall. We achieved this not by changing the COB, but by prototyping three different reflector design%%%FOOTNOTE_REF6%%%s. A small change in the reflector's curvature completely altered the shape of the light. We test these designs in a [goniophotometer](https://www.lisungroup.com/news/technology-news/explain-the-goniophotometer-and-how-does-it-differ-from-integrating-sphere.html?srsltid=AfmBOopFZ5gPzvS25IO-tHMRENviFDTMlADgJ5TE6XcaVd2s1zzgSzg)7 to generate precise IES files8, ensuring that what the designer sees on their DIALux simulation9 is exactly what they get in reality. This control is what makes COB technology so versatile for professionals like Shaz.
What is the beam angle for LED lights?
The term "beam angle" is used for all LED lights. But assuming it means the same thing for different fixtures can be a costly mistake.
For any LED light, the beam angle defines the cone of light's width. Common angles range from narrow spots (under 15°) for accenting to very wide floods (over 60°) for general lighting, depending on the fixture's specific purpose.
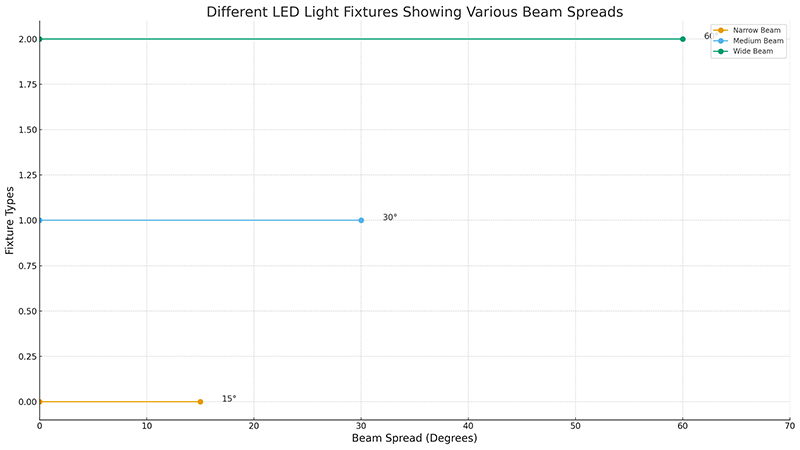
While the definition—the angle at which intensity is 50% of the center—is universal, the application of different angles varies greatly between fixture types. A 24-degree beam in a track light is used for highlighting artwork, but a 24-degree beam in a high-bay fixture would be for illuminating a narrow aisle in a tall warehouse. For a purchasing manager like Shaz, understanding these typical applications is key to sourcing the right product quickly and confidently. You need to match the beam angle to the intended function and environment.
Matching Beam Angle to Application
The relationship between beam angle, ceiling height, and fixture spacing is a fundamental part of lighting design. A common mistake I see is using a wide beam angle10 in a space with very high ceilings. The light spreads out too much before it reaches the floor or task surface, resulting in low light levels (lux). Conversely, using a narrow beam angle11 with a low ceiling can create harsh "hotspots" on the floor and poor uniformity.
Here is a general guide I share with clients:
| Beam Angle | Classification | Typical Ceiling Height | Common Applications |
|---|---|---|---|
| < 15° | Narrow Spot | Any | Highlighting small objects, architectural details |
| 15° - 25° | Spot | 3-5m (10-16 ft) | Accent lighting, task lighting over a small area |
| 30° - 40° | Medium Flood | 2.5-4m (8-12 ft) | General lighting for rooms, kitchens, offices |
| > 60° | Wide Flood | < 3m (10 ft) | Wall washing, open area general illumination |
When a client like Shaz sends me a project requirement, the first questions I ask are about ceiling height and the intended use of the space. If he needs to light a retail display from a 4-meter ceiling, I would immediately recommend a narrower beam, perhaps 24 degrees, to punch the light down and make the merchandise pop. If it's for general lighting in an office with a standard 2.7-meter ceiling, a 36 or 40-degree beam would be much more appropriate to ensure even coverage. We often use lighting design software12 like DIALux to simulate these options, giving clients a clear visual of the final result before they place a single order.
What does 36 degree beam angle mean?
You see "36°" on a spec sheet, but what does that look like in a real room? Misjudging this can create lighting that is too spotty or too flat.
A 36-degree beam angle is a versatile medium flood. It creates a balanced cone of light, wide enough for general use in many spaces but still defined enough to create focus and visual interest, avoiding a completely flat look.
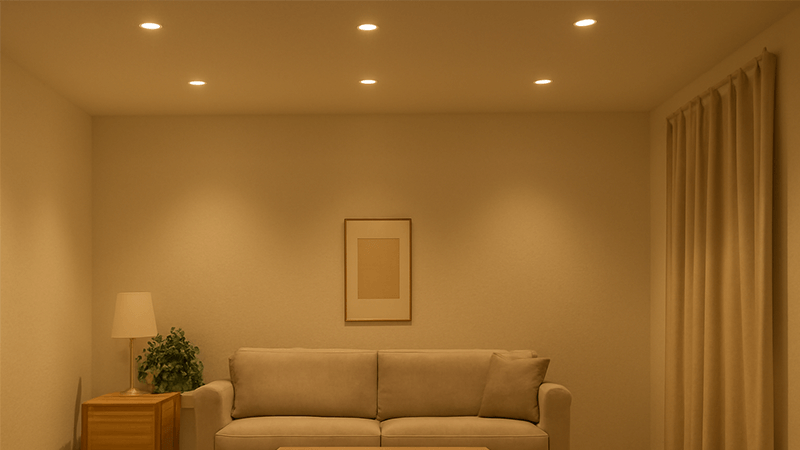
In my experience, when a client is unsure which beam angle to choose, 36 degrees (or a similar medium flood like 38° or 40°) is often the safest and most flexible starting point. It's the workhorse of the downlighting world. It strikes a perfect balance. It’s not so narrow that it creates sharp, dramatic spots, and it’s not so wide that it washes out all shadows and makes a space feel flat and uninviting. This versatility makes it ideal for a wide range of applications, from residential living rooms and kitchens to commercial offices, hallways, and retail spaces.
The Versatility of the 36-Degree Beam
To a purchasing manager, choosing the right "default" option is a huge advantage. A 36-degree beam downlight is easy to plan with because it provides a good overlap of light when spaced correctly. This ensures uniform lighting on the floor or work plane without dark spots.
Let's compare it with other common options:
| Feature | 15° Beam (Spot) | 36° Beam (Medium) | 60° Beam (Wide) |
|---|---|---|---|
| Light Feel | Dramatic, high contrast, focused | Balanced, defined but soft | Open, bright, low contrast |
| Best For | Highlighting art, retail displays | General residential & office lighting | Overall area illumination, wall washing |
| Spacing Guide | Must be closely spaced for general lighting | Standard spacing for good uniformity | Can be spaced further apart, but may feel flat |
Using a simple rule ofthumb, you can estimate the diameter of the light pool on the floor: Diameter ≈ Beam Angle × 0.018 × Distance. For a 36-degree beam with a 2.7m (9 ft) ceiling, the light pool diameter13 is about 36 × 0.018 × 2.7 = 1.75m. This makes it easy to plan your layout.
A Critical Detail: Dimming and Color Stability
One technical detail that is crucial, especially with high-quality lighting, is performance during dimming. When you dim an LED, the driver reduces the electrical current to the COB chip. From my factory experience, I know that high-CRI COB sources14 can be sensitive to very low currents. If the current drops too much, a phenomenon called "color shift" can occur, where the color of the light changes slightly, often becoming less consistent. For a high-end project, this is unacceptable.
To guarantee performance for my clients, we build a safeguard into our drivers. We set a lower limit so that the drive current will never drop below 20% of its maximum output, even when the dimmer is at its lowest setting. This ensures that the color temperature and quality (CRI) remain stable across the entire dimming range. It’s a small detail, but it’s this commitment to quality that prevents problems on site.
What is the formula for the beam angle?
You need to calculate the lit area to plan your fixture layout accurately. Guessing the spacing leads to uneven light and an unprofessional result.
The formula to calculate the diameter of the light cone on a surface is: Diameter = 2 * tan(Beam Angle / 2) * Height. Here, 'Height' is the distance from the downlight to the surface. It removes the guesswork from spacing.
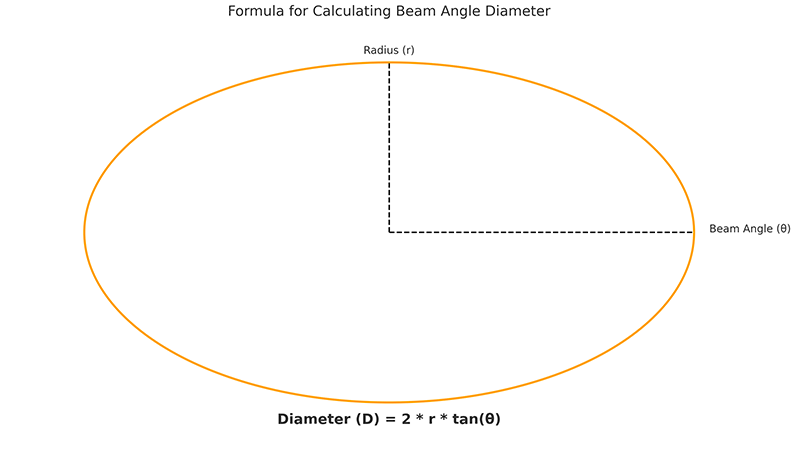
As an engineer at heart, I believe in removing guesswork wherever possible. While rules of thumb are useful for quick estimates, using a basic formula ensures your lighting plan is accurate and your client gets a professional, evenly lit space. This formula comes from simple trigonometry, and it's the basis for how all lighting design software calculates light distribution. You don't have to be a math expert to use it, and it will dramatically improve your project planning. Understanding it gives buyers like Shaz the ability to double-check layouts and speak the same language as lighting designers.
Putting the Formula into Practice
Let's break down the formula: Diameter = 2 * tan(Beam Angle / 2) * Height.
- Height (H): This is the vertical distance from your downlight to the surface you are lighting (e.g., the floor or a tabletop).
- Beam Angle (A): The angle specified on the product datasheet (e.g., 24°, 36°). We divide it by 2 because we are calculating from a right-angled triangle formed by the center line of the beam.
- tan: This is the tangent function, available on any scientific calculator (including the one on your phone).
Let's walk through a real-world example:
- Your space has a ceiling height of 3 meters.
- You want to light the floor, so your Height (H) is 3 meters.
- You are using a downlight with a 24-degree beam angle.
Calculation:
- Diameter = 2 tan(24° / 2) 3m
- Diameter = 2 tan(12°) 3m
- Diameter = 2 0.2126 3m
- Diameter = 1.27 meters
This tells you that each downlight will create a light pool about 1.27 meters wide on the floor. To achieve even lighting, you would typically space the fixtures slightly closer than this diameter.
Here is a quick reference table I've built to help my clients:
| Ceiling Height | 24° Beam Diameter | 36° Beam Diameter | 60° Beam Diameter |
|---|---|---|---|
| 2.5m | 1.06 m | 1.62 m | 2.89 m |
| 3.0m | 1.27 m | 1.94 m | 3.46 m |
| 4.0m | 1.70 m | 2.59 m | 4.62 m |
When I work with project contractors and procurement managers, this is the kind of practical support we provide. We don't just sell a box. We use these calculations to help them validate their plans, ensuring they purchase the right quantity of lights with the correct beam angle to deliver a flawless project.
Conclusion
Beam angle is not just a technical number; it is a powerful design tool. Mastering it ensures you deliver the right light for every space, every single time.
Understanding beam angle is crucial for achieving optimal lighting effects and visual comfort in any space. ↩
Explore how COB technology improves light quality and efficiency, making it a popular choice in modern lighting. ↩
Learn about the essential components that contribute to a successful lighting project. ↩
Understanding light intensity is key to ensuring proper illumination levels in any space. ↩
Learn how secondary optics shape and control light, enhancing the effectiveness of COB downlights. ↩
Discover how different reflector designs can dramatically change the quality and focus of light. ↩
Find out how goniophotometers help in accurately measuring light distribution for better design. ↩
Understand the significance of IES files in simulating lighting effects for accurate project planning. ↩
Explore how DIALux software helps visualize lighting layouts before implementation. ↩
Discover how wide beam angles can enhance general illumination in various settings. ↩
Understand the specific uses of narrow beam angles for accent and task lighting. ↩
Explore top lighting design software options that can enhance your project planning and execution. ↩
Learn how to calculate light pool diameter to achieve even lighting coverage in your projects. ↩
Learn about the benefits of high-CRI COB sources for achieving true color representation in lighting. ↩

